
Do you struggle with the whole process of writing a blog post? Find it a bit daunting? Try this simple “What, Why, How” method to make it not only doable but worth your effort and time. Even part-time bloggers can learn how to get “unstuck” with these 3 easy steps.
- Blog Planning – Figure out WHAT you want to write about.
- Blogging Passion & Purpose – Understand WHY you chose that topic.
- Blog Polishing – Perfect HOW you explain it.
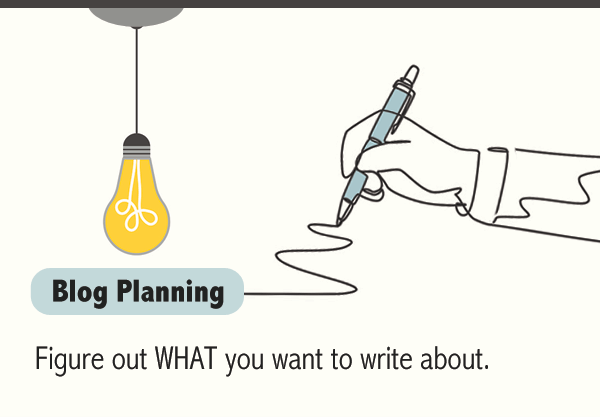
STEP 1) Blog Planning
(Figure out WHAT you want to write about.)
Planning is all about the idea. Your idea could pop into your head while you’re surfing the web, walking your dog, or staring at the ceiling in the middle of the night. It may feel daunting at this point because it’s just an idea.
“How can I turn that simple thought into something more?” You might be wondering.
Start by jotting it down.
Grab a pen and piece of paper. Write some notes about it. Let the brainstorming begin.
Guess what? Now it’s more than an idea.
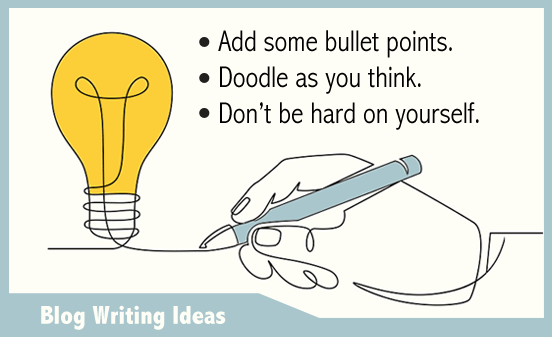
- Add some bullet points. Doodle as you think.
- If you get stuck, go online and do a little research. Explore. Get inspired.
- Let this step be messy. Don’t be hard on yourself.
Your blog title begins to emerge.
Slowly but surely, a blog title will begin to emerge in your head.
- Write it down.
- Then tweak it a bit and come up with a second title and maybe a third.
- Shorten them to 10 words or less.
- Be sure to include keywords in your titles. (Include words that people would type into a search engine, such as Google, if they were looking for an article like yours.)
- Pick the best one.
Believe it or not, you’ve made great progress already.
Next, drop your pen and grab your computer keyboard. You’re moving UP to the next level.
Begin typing into a text editor or Word document. Your scribbles will evolve into phrases and possible subheadings.
“Why did I bother with the pen and paper in the first place?” You may ask.
A pen and paper are the easiest to grab. They’re available just about anywhere you happen to be when that idea pops into your head. They’re also less intimidating than a computer and keyboard. Use them as your starting point. Then move UP. You’ll feel more confident when you open a Word document and have something to type into it already.

Your ideas are beginning to take shape. You can grab a cup of coffee now and pat yourself on the back. When you come back to the computer, try going online to explore your topic a little more. More ideas are bound to come your way.
Paste links in your Word document to other articles/posts you may want to mention. Keep writing.
Helpful Hint – Don’t go to WordPress (CMS), or any other blog publishing program yet. It may slow you down right now.
Next, do a search engine check.
Take your title idea and “Google” it. If you find the exact same blog post title online, tweak yours again. Come up with a unique angle for your blog topic. Your topic and title may end up changing a bit. That’s not a bad thing.
With your blog title and rough ideas in hand, you can move on to Step 2.
STEP 2) Blogging Passion & Purpose
(Understand WHY You Chose that Topic.)
Don’t worry. This step is more of a gut check than anything else. Step 2 can be done in minutes.

To be passionate about a blog topic, you must actually care about it. You must be excited enough to take the time out of your busy day to organize your thoughts and write them down. You’re not doing it just to drive traffic to your website.
Let the Words Spill Out.
Being passionate about something makes it so much easier to put it on paper or in an online document. When you’re passionate, the words will begin to spill out. You will gain momentum. With a little practice, you’ll also begin to develop a blogging voice, instead of writing in a mechanical way.
Make it Useful to your Audience.
Your idea must also be useful to your readers. Inspire them, teach them something or entertain them if you can. Know who they are. Are you familiar with your audience?
If you genuinely believe you have something worthwhile to say, then you can head to STEP 3. Be sure to take a break first, though. You deserve it.
Your coffee is probably cold now. Time for a refill.
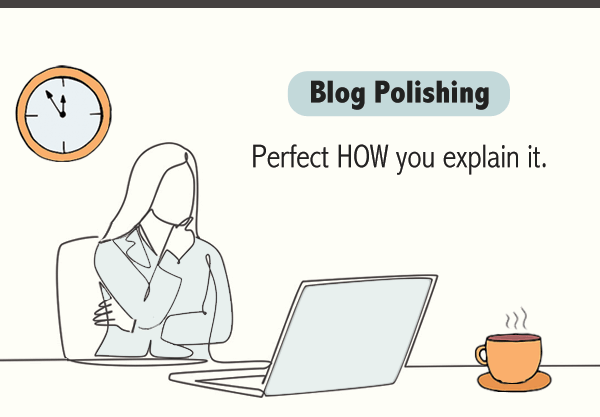
Step 3) Blog Polishing
(Perfect HOW You Explain It.)
When you polish your blog post, you will add structure to it. You’ll throw in some subheadings, lists, images and links. You’ll take that messy, unpolished gem of yours and fine-tune it until it flows easily. You’re stepping UP to WordPress. I bet that feels good.
If you’re not very comfortable with the technical aspects of WordPress, read How to Add a New Post in WordPress and Utilize all the Features.
Don’t let yourself get stuck here. You’ve come too far.
These 8 “blog polishing” steps will get you to the finish line.
BLOG POST POLISHING
- Organize your Word Document. Group your related ideas together. Add sub-headings, sections, and lists.
- Move UP to WordPress. Copy everything and paste it into the blank post-editing screen. Save it as a Draft.
- Elaborate on your ideas. Be verbose. Add outbound links to other related blogs/articles. Also, add internal links to other relevant posts/pages that you’ve written. Save it as a Draft again.
- Add images. They will help with readability. Add several images (not just one) to break up your content and draw your readers’ eyes down the page. Give those images ALT tags for SEO.
- Trim your blog post. Refine it. Simplify big words. Shorten long sentences and paragraphs.
- Pamper your audience. Make sure your sententces sound right “out loud.” Use grease-slide words (bucket brigade copywriting) to create smooth transitions between your paragraphs and sentences. Add a generous amount of white space.
- Utilize online writing tools. Use Hemingway for readability. Download a plugin such as WP Spell Check.
- Press the “Publish” button. If you’re proud of your work, now’s the time to publish your post. Don’t second-guess yourself.

Hopefully, this “What, Why, How” method will help you make that blog post idea more doable and less daunting.
Don’t let yourself get stuck in your head.
Don’t let WordPress intimidate you. You can do this.
If you still need a little inspiration, check out these great blog examples:
- MeinMaine Blog – This Maine blog writer invites you to bring your kayak, pack a picnic lunch and learn more about a state known as “Vacationland.”
- Peach on a Leash – Peach on a Leash® is a dog training company in Georgia.
- Mellowed – Mellowed is a website designed to help users decrease stress in their lives.
Be sure to analyze their styles of writing, images, use of subheadings and white space. Do you sense their passion? If so, let them inspire you to write.
Return to Top